Quick and Easy Step Card

Hi crafty friends πŸ™‚

Today’s card is a quick and easy step card that you will find very easy to make. Just follow along with me on my video.

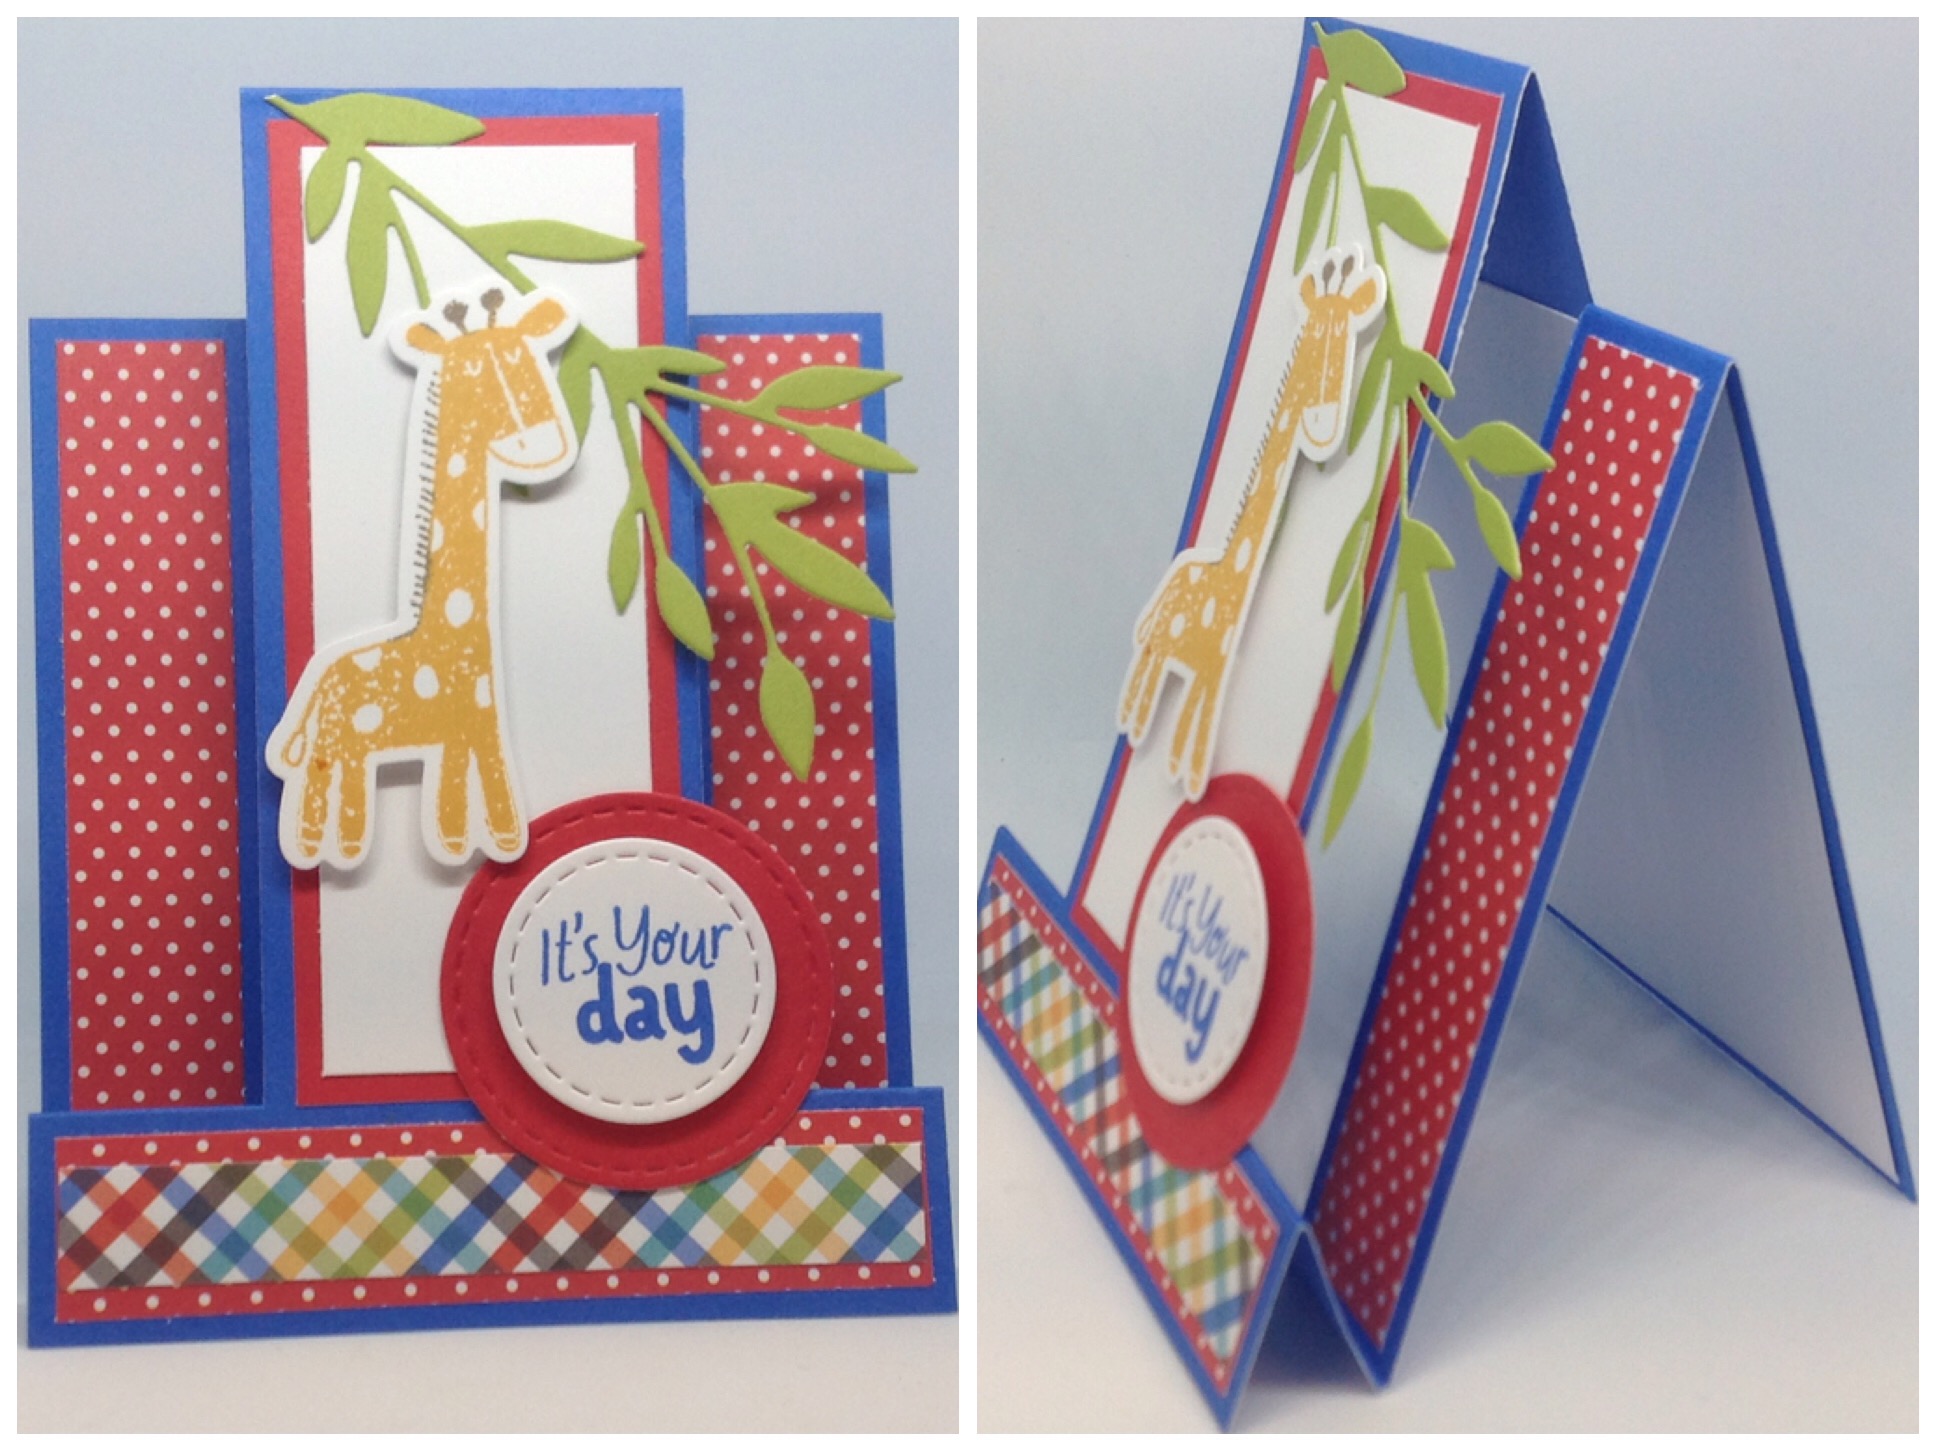
Here are the instructions, measurements, cutting guide and video for you to watch:

Peacock X5958 C/S Base: 11” x 4”

Jingle Joy Paper X7262B strips: 4-1/4” x 3/4″ cut 2

Paper strip: 3-3/4” x 3/4″ cut 1

Black X6047 C/S panel: 4-3/8” x 1-3/4”

White Daisy 1385 panel: 4-1/8” x 1-1/2”

Stitched Floral’s Stamp & Thin Cuts Z3698

Tri-Blend Markers

  1. Place the 4” side at the top ofΒ  your trimmer @ 3” and bringing the Blade down to the 1” mark on the cutter arm.Β  Cut down to 6-1/2”. Lift the arm and flip the card over(do not turn it round) and place it back in @ 3”. Close the cutting arm down and cut up from 6-1/2Β΄ to 1”.
  2. Place the 11” side in to your trimmer, so that the 1” cut lines up with 1”  mark and score down to the first cut line. Move the card into 2” and score down to the first cut line, move to 5-1/2” and score the middle section only (as shown in the cutting diagram on the below)) move down to 6-1/2” and score down to the first cut line.
  3. Flip the card over and repeat the scores on this side (do not turn the card around).
  4. fold the two 1″ score lines as Mountain folds and the two 2″ folds as Valleys. Fold both the 5-1/2″ and the 6-1/2” as Mountain folds
  5. Adhere the paper strips to the side and one to the front bottom section.
  6. Adhere the Black and White Daisy to the middle section of the card.
  7. Decorate the card as you wish to finish. I have used the Stitched Florals stamp and thin cut for this card but you can use anything that you like πŸ™‚

Here are some other card.

Well I hope that you give this card a go and enjoy making one yourself πŸ™‚

so till next time….

keep on crafting and bye for now πŸ™‚

Colleen VΒ  Β  xxxxx

Easter Milk Carton using the Daisy Meadows stamp set

Hi my crafty friends πŸ™‚

Lets start to get ready for Easter with this cute Milk Cartons and the bunch of flowers from the Daisy Meadows stamp set.

This one is made in Ballerina using Intense Black ink to stamp the image and then colouring in with the Tri-Blend Markers: Pale Pink Shades, Citrus Blends & Jade Green Blend.

This one is made in Mint card stock and the Tri-Blend Markers used to colour in this one are: Green Turquoise Blend, Citrus Blend & Jade Green Blend.

This box has a Butterfly on the side Because I accidentally got some black ink on it when I was stamping the flower image. So instead of throwing it away and starting again, I just stamped the Butterfly over the top of my mistake.

Oh, and this is how many eggs fit inside these boxes.

The ribbon for both the boxes came from Shiploads (like the $1 Tree store). Its just Organsa Ribbon that matched my Card stock perfectly.

Here are the measurements, instruction and video for you to watch:

Easter Milk Carton

BallerinaΒ  C/S: 10-1/2” x 8-1/4”  Β  X6036

or

Mint C/S: 10-1/2” x 8-1/4”  X6042

Sore on the 10-1/2” side @ 2-1/2”, 5”, 7-1/2” & 10”

Score on the 8-1/4” side @ 2-1/2”, 6” & 7-3/4”

Score a small line down to the 1st score line at the top of the box @ 1-1/4” & 6-1/4”

A piece of ribbon 18” long

Intense Black Ink Z4189

Stamp set: Daisy Meadows Z3932

Tri-Blend Markers: Pale Pink Shades Z2530, Jade Green Blends Z2487, Citrus Blend Z2482 & Green Turquoise Blend Z2488

  1. Using a ruler and a scoring tool, score from the small score line to the second score line on the diagonal as shown in the cutting guide on the back of this sheet (as shown in panels 1 & 3)
  2. Fold and burnish all the score lines (except the diagonal score lines).
  3. Follow the cutting guide on the back of this sheet.
  4. Fold up the bottom flaps and place a small tick mark 1-1/4” in on the bottom of each panel @ 1-1/4”, 3-3/4”, 6-1/4” & 8-3/4” and then stamp the flowers in Intense Black ink lining up the middle flower with the tick mark (as shown in the picture).
  5. Colour them in with your markers.
  6. Gently fold in the diagonal lines.
  7. Add Glue to the 1/2” side section and fold over the other side to form the box shape.
  8. Move the bottom front flap out of the way, then fold and glue the other three flap in and then glue and fold in the front flap to secure the bottom of the box.
  9. Place your fingers on the two small score lines on the top sides of the box and push in (this will form the milk carton top).
  10. Punch 2 small 1/8” holes and thread the ribbon through and tie into a bow to finish.

I hope that you enjoyed this project.

So till next time…..

Keep on crafting πŸ™‚

and bye for now Colleen V xxxx