Pop-Out Card using the “You’er Not Old” Stamp Set

Hi crafty friends 🙂

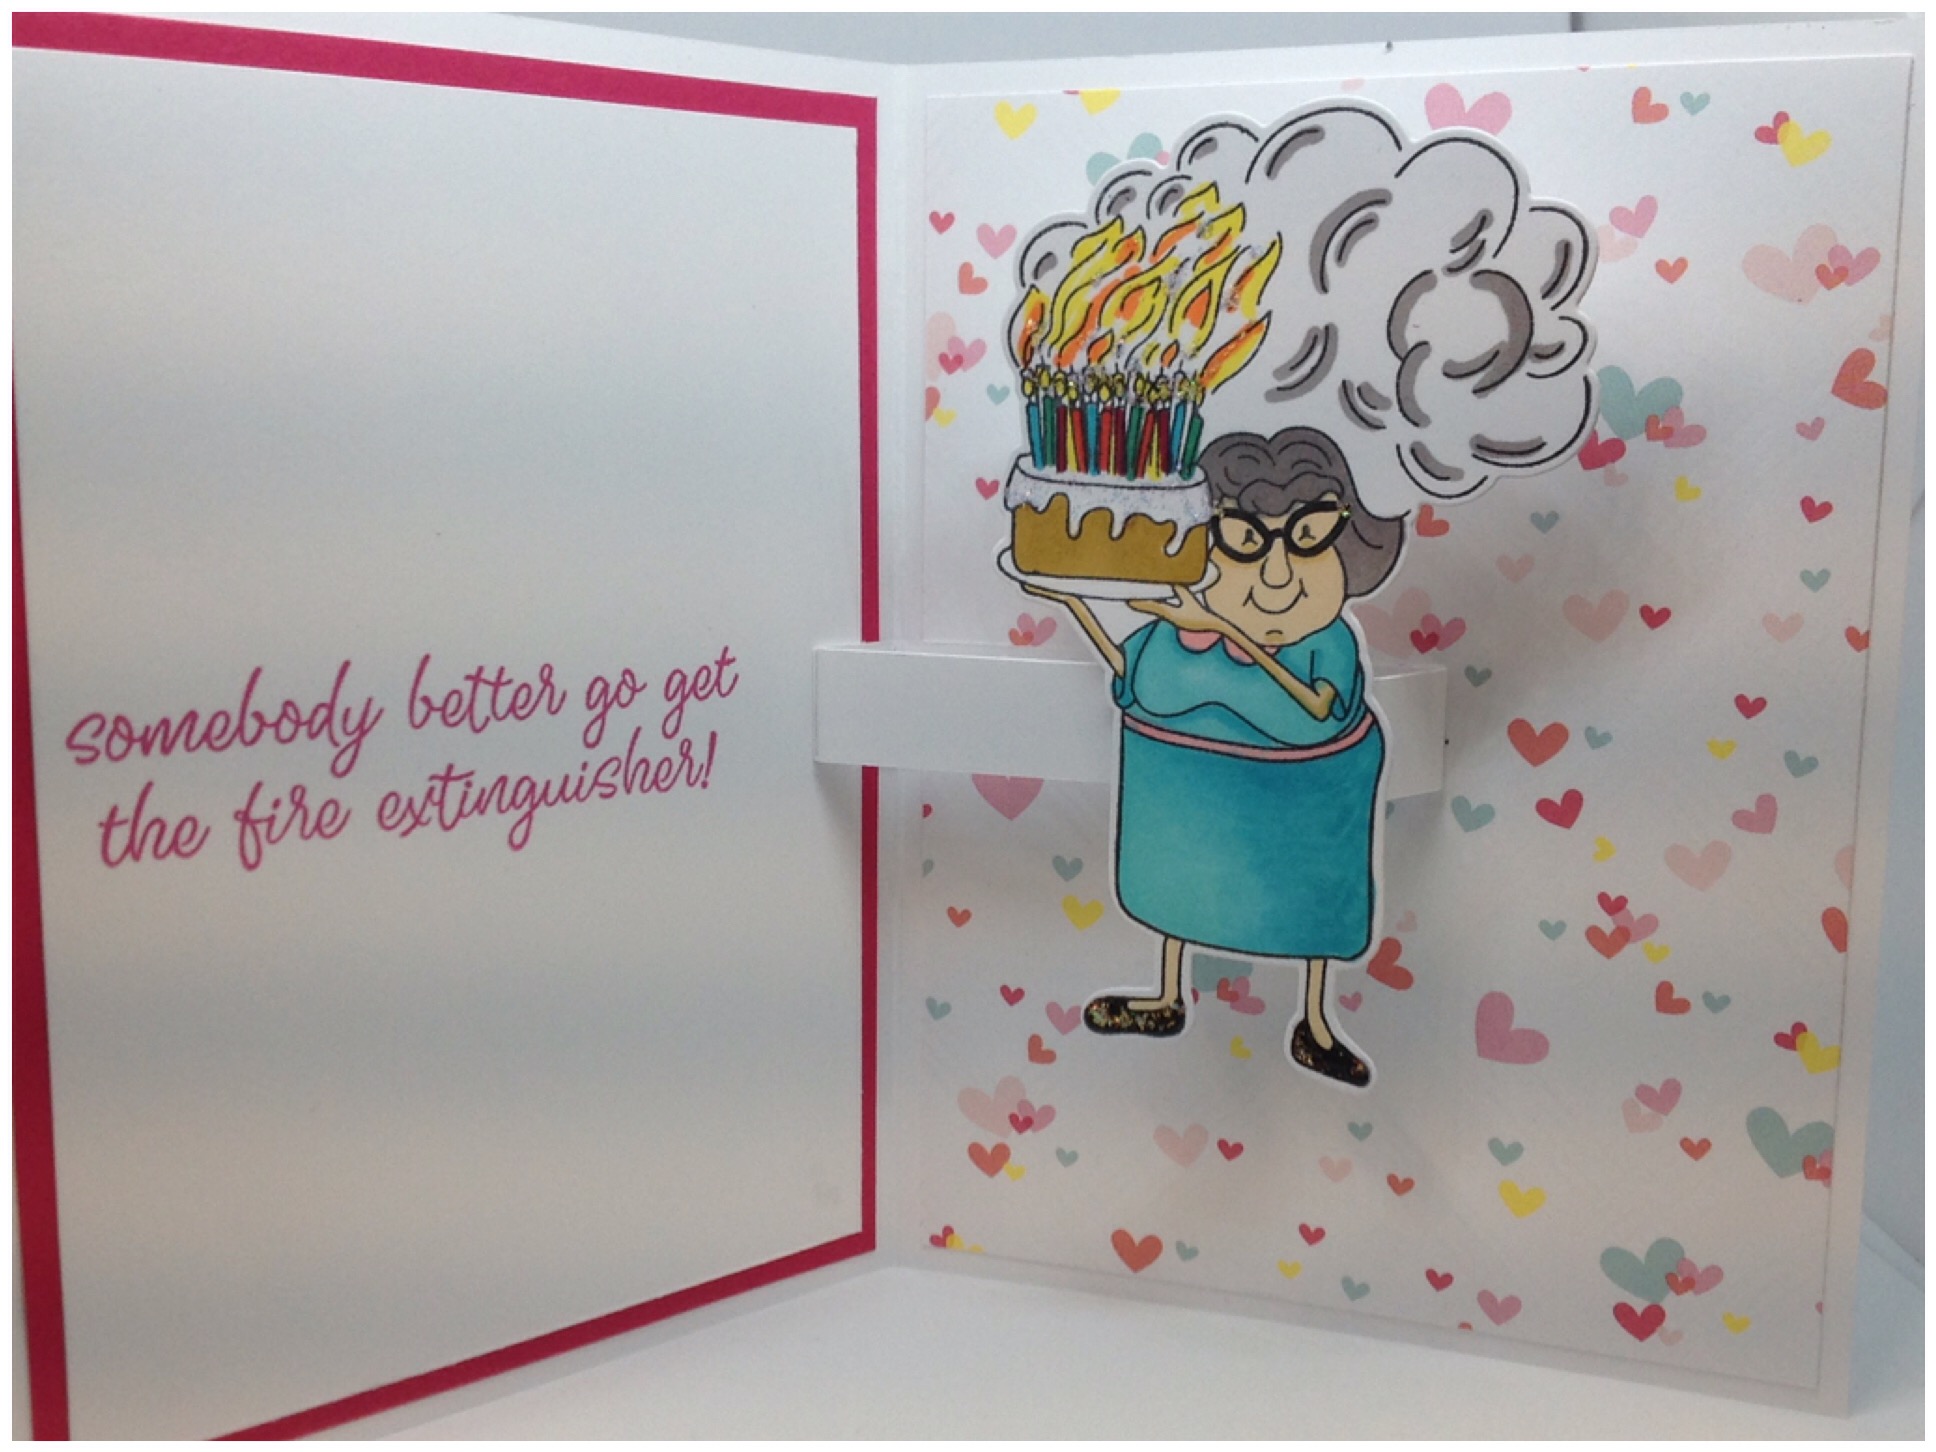
Today’s card is using the “You’re Not Old” stamp set & Thin Cut Z3653. It’s a very simple pop-up card with the fun element of the old lady with the cake on the inside and a funny sentiment to go with it.

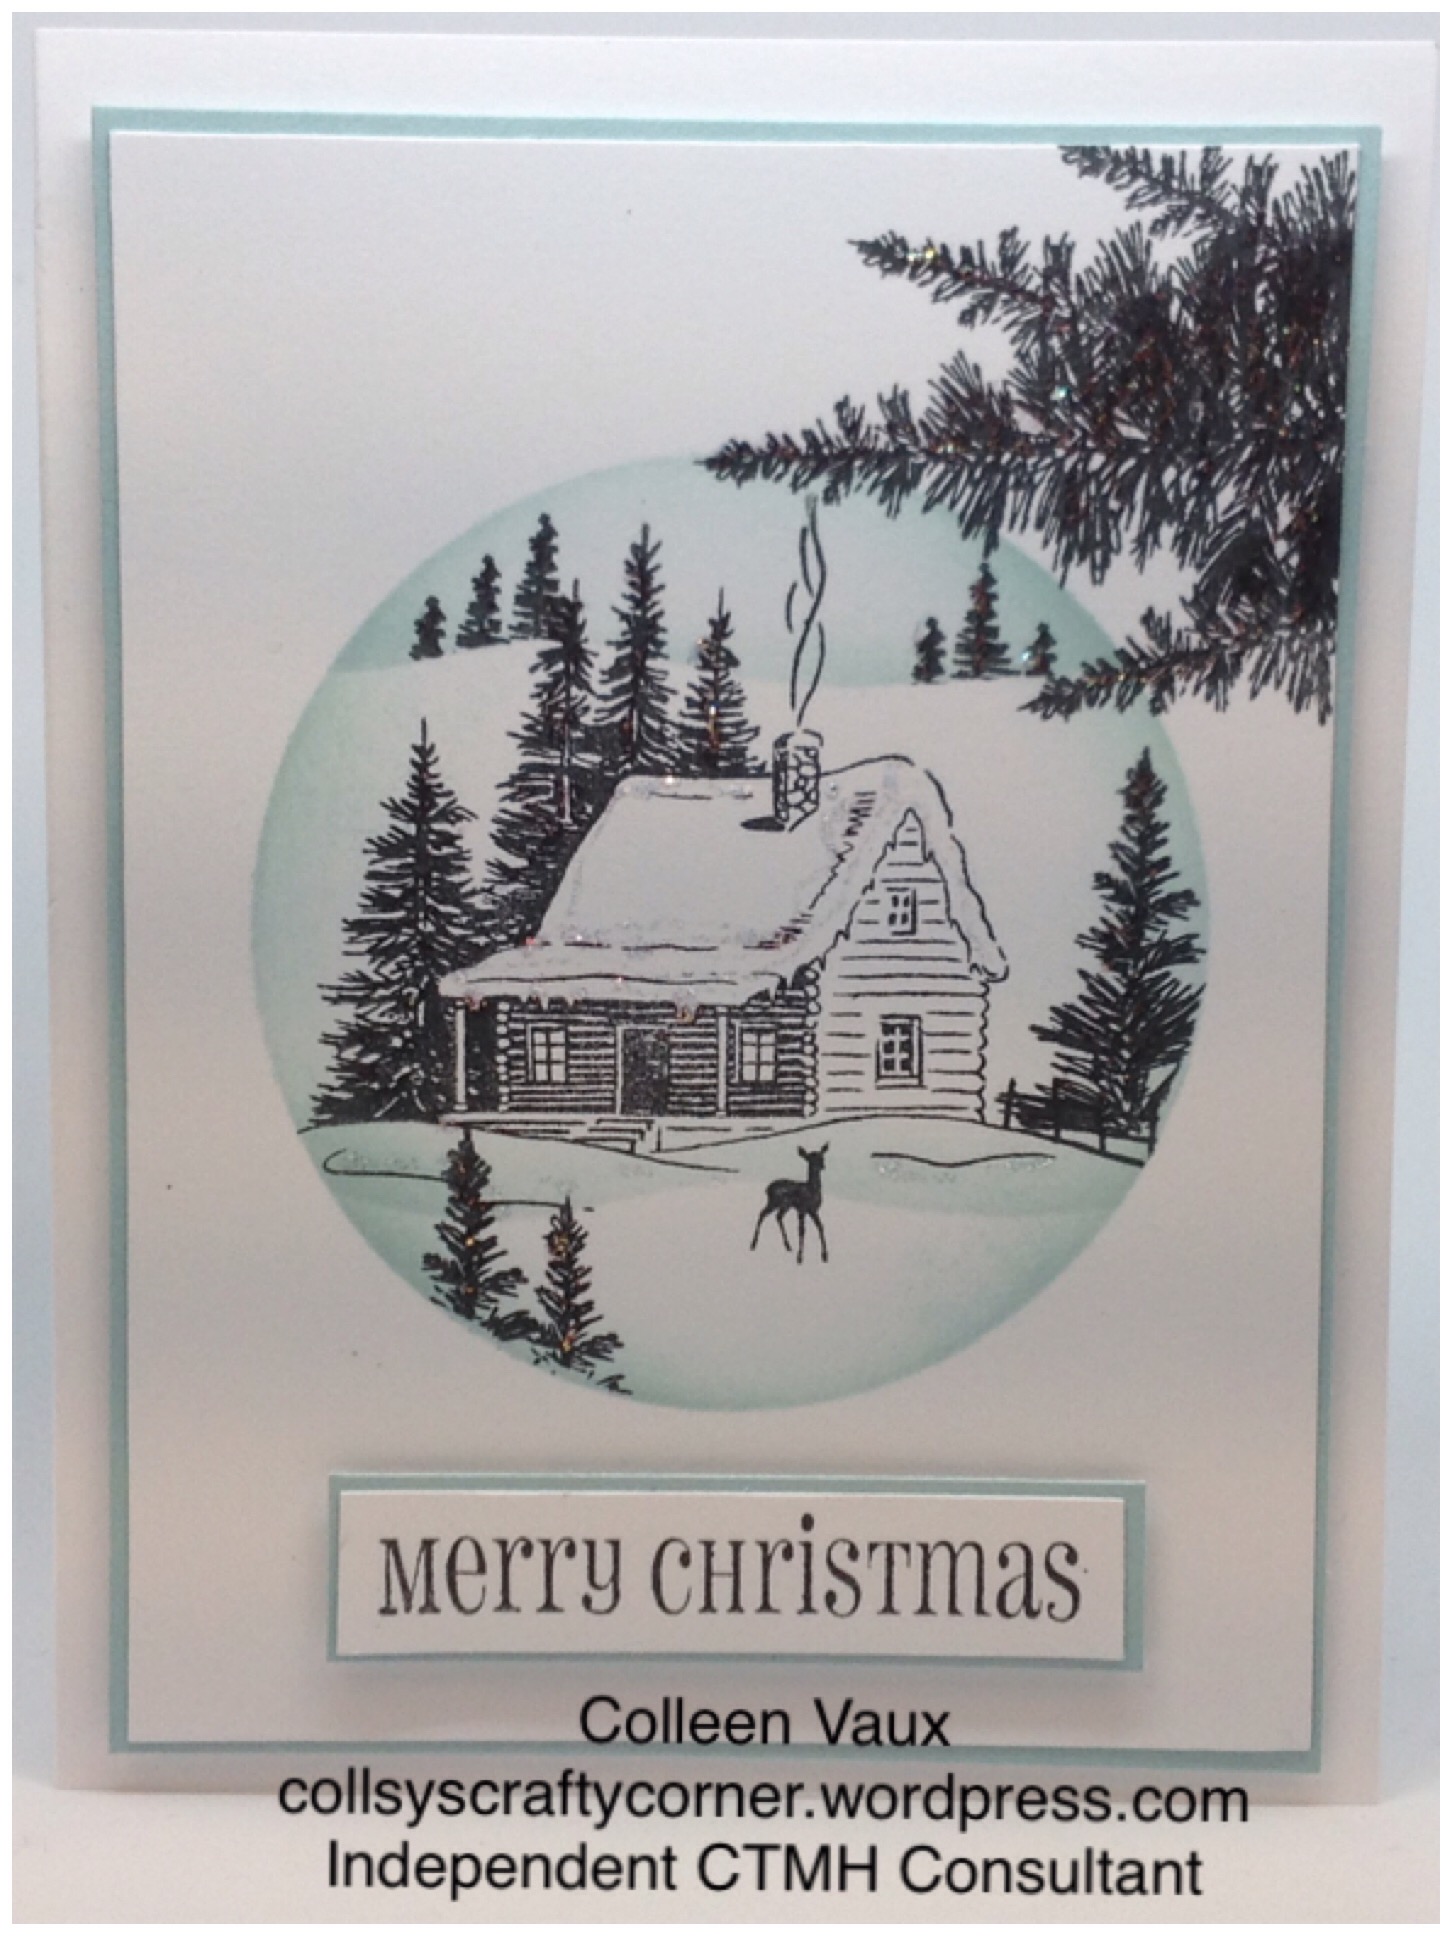
The front of the card is quite plane, as I thought the inside gives the receiver the wow factor.

So here are the measurements, instructions & video:

Basic white Card: 5-1/2” x 4-1/4”

White Daisy card stock Pop-up strip: 6-1/2” x 1/2”

Score on the 6-1/2” side @ 1/2″, 3”, 3-1/2” & 6”

Oh My Heart Paper panels: CC12011

  • 5-1/4” x 4”
  • 4-1/4” x 2-1/2”

Raspberry Card stock panels:

  • 5-1/4” x 4”
  • 4-1/4” x 1/4” cut 2

Pink Shimmer Trim: 4-1/4” x 1/2″ cut 2

Ballerina Panel: 2-1/4″ x 1-3/4″

White Daisy Panel: 4-1/4″ x 1-3/4″

White Daisy panel: 5-1/2” x 3-3/4” for stamping

“You’re Not Old” stamp set and thin cut Z3653

Sentiments By Melissa Esplin D1866: “Happy Birthday”

1-3/4″ Stitched Oval in White Daisy card stock

Raspberry & Intense Black ink

Tri-Blend Marker

Diamond Stickles Z3563

  1. Fold and burnish all the score lines.
  2. Cut out both the old lady and the 1-3/4″ Stitched oval from the White Daisy stamping panel.
  3. Cut Out the Ballerina 2″ Basic Oval.
  4. Stamp the “happy Birthday onto the front White Daisy panel in RRaspberry Ink.
  5. Stamp the old lady in Intense Black ink and colour her in using the Tri-Blend Markers.
  6. Adhere the front panels to the front of the card as shown.
  7. Stamp the “Make a Wish” onto the 1-3/4″ stitched oval in Raspberry  ink and adhere to the 2″ basic oval with 3D foam dots. Adhere to the front of card.
  8. Adhere the paper panel to the inside right hand side.
  9. Adhere the Raspberry panel to the inside left hand side.
  10. Stamp the sentiment on to the White Daisy panel in the middle but a little more to the left hand side with Raspberry ink, and adhere to the Raspberry panel on the inside of the card.
  11. Taking the small strip (that will become the pop-up section), adhere the two ends together by overlapping them to form a rectangle shape.
  12. Place glue adhesive to one end and to one side and adhere to the middle of the inside of the card and then fold the card shut to adhere the 1/2” glued section to the other side of the card. Allow to dry before adhering the old lady.
  13. Adhere the old lady to the end of the pop-up strip with tape runner or 3D foam dots.

I hope that you like my card and give it a go.

So till next time………

Happy crafting 🙂

Colleen V   xxxxx

Pop-Out Gate Fold Card

Hi crafty friends 🙂

This card today is using the February Stamp of the Month for 2020. It’s called “Cherishing Her” S2002E and I totally love it. This is one that I think I will have a lot of use for.

I have teamed it up with the New Dreamy Holographic Paper Z3638 & White Daisy card stock.

So here are the measurements and Video:

Basic White card: 5-1/2″ x 4-1/4″

Open the Card and score on the 8-1/2″ side @ 2-1/8″. Turn the card 180 degree and score on this side @ 2-1/8″. This will Give you the Gate Fold.

Dreamy Holographic paper: 5-1/4″ x 1-7/8″ cut 6

White Daisy card stock: 5″ x 1-5/8″ cut 4

1-1/4″Stitched Circles in White Daisy card stock Cut 2

White Daisy panel for stamping the bouquet of flowers

And Tri-Blend Markers to Colour them in with.

Cherishing Her” stamp of the month for February 2020

Intense Black ink

Diamond Stickles

  1. Fold and Burnish the score lines.
  2. Stamp the sentiment on to the middle of the back of the card.
  3. Stamp the flowers twice on to the two White Daisy panels as well as the extra piece of white Daisy for the Bouquet.
  4. Colour these in with the Tri-Blend Markers.
  5. Add some Diamond Stickles to the middle of the Bouquet flowers and pop aside for them to dry.
  6. Stamp just a small amount on to the top of the other two white panels and stamp on a diagonal on the bottom of both of them.
  7. Stamp the sentiments onto the middle of these panels and adhere to two of the Dreamy paper.
  8. Adhere the coloured front one to two of the Dreamy panels.
  9. Adhere these panels to the front and inside side panels.
  10. fold the two 1-1/4″ circle in half.
  11. add adhesive to two of the half folded sides and folding the card up in the middle, adhere one of the circles with the fold ed edges together.
  12. repeat this step with the other circle.this will give you a pop-out centre.
  13. adhere the other two Dreamy panels over the half stuck down circles.
  14. place two 3D foam dots onto the top of the two half circles and adhere the Bouquet to the top.

I hope that you like my card today and give it a go.

So till next time ….

Keep on crafting 🙂

Coleen V xxxx

A Silhouette Card using the “Spruced Up” Scrap-Booking Stamp Set

Hi crafty friends

I just love the way this Silhouette card turned out.

I have taken my inspiration from Samantha Clayton – mixedupcraft.com

So when the Spruced Up Scrap-booking stamp set came out in January I was thrilled to bits, so now I could make a silhouette card but in a smaller size.

I have used the 3″ circle Thin Cut from the Shaker Window & Confetti Thin Cuts, along with a piece of the Stencil film sheet that I cut @ 5″ x 3-3/4″.

So here are the measurements and video:

White Card : 5-1/2″ x 8-1/2″ score on the 8-1/2″ side @ 4-1/4″

Glacier X5978 Matting Panel: 5-1/8″ x 3-7/8″

White Daisy 1385 Front Panel: 5″ x 3-3/4″

Glacier Banner: 2-5/8″ x 5/8″

White Daisy  Banner: 2-1/2″ x 1/2″

Stencil Film Sheet Z4244: 5″ x 3-3/4″

3″ Circle from the Shaker Window & Confetti Thin Cuts

Glacier ink, Intense Black ink

A piece of sponge Z697

Spruced Up Scrap-booking Stamp Set

Diamond Stickles Z3563

1 Post-It Note (the Larger ones)

Here is a close up of the silhouette:)

I hope that you like my version of this card and give it a go.

So till next time….

Happy crafting:)

Colleen V     xxxxx

Peekaboo Shaker Window card

Hi crafty friends

Well its been a while between post as life crept up and got in the way again with our bathroom, toilet & laundry renovations, the arrival of my new grandson Harry and a bad case of just being plane exhausted from all the little thing that kept on creeping up on me.

Well that’s enough of that……

…..So now to the card

This card I’m calling my Peekaboo Shaker Window card.

It”s easy to make and uses the Shaker Window Foam & Acetate Z4310 along with the ‘Oh My Heart” paper CC12011.

For the extra piece of Acetate. I saved all the plastic tops from the Xmas Crackers (Bon Bon) boxes so that when I needed some Acetate I didn’t have to buy any 🙂

So here are the instructions, Measurements & Video:

White Card X254 : 5-1/2″ x 4-1/4″

Oh My Heart Paper CC12011 : 5-1/2″ x 3-1/2” cut on the diagonal from the top right hand corner to the bottom left hand corner on the 3-1/2″ side.

Strips:

Candy Apple Card Stock: 7″ x 1/2″ & 7″ x 1/4″

Silver Glitter paper: 7″ x 1/4″ & 3-1/4″ x 3-1/4″

Extra piece of Acetate: 3-1/4″ x 3-1/4″

Red Shimmer Brush Z4223

1 Shaker Window Foam & Acetate Z4310

Silver Sequins

3″ Circle from Shaker Window Thin Cuts Z4309 

2-1/2″ Circle Thin cut

Stamp set: Celebrate Today Cardmaking Workshop Z3628

Happy Birthday Shaker Window Z3625

A thin Black Marker

Clear Sparkles Z3274 

  1. Splatter the front of the card with the Red Shimmer Brush and pop aside to dry.
  2. Cut the paper on the diagonal and adhere the right hand section to the front of he card.
  3. Adhere the strips against the diagonal edge of the paper making sure the they over hang the edges of the card. Trim off the excess with your scissors.
  4.  place the 2-1/2″ circle thin cut onto the top section of the card, about 7/8″ from the top and both sides of the card front. Use Washi Tape to hold it in place.
  5. Open the card (so that you are only cutting through the front of the card) and run through the your die cutting machine..
  6. Cut out the 3″ circle from the extra Acetate.
  7. Peal the paper top only of the foam circle and adhere the extra Acetate circle.
  8. Peal away the backing and the extra foam squares.
  9. Place the sequins in side and remove the film from the acetate top and adhere to the top of the foam circle to form the Shaker Window.
  10. Add adhesive around the edge of the window only and adhere to the front of the card over the top of the 2-1/2″ circle section.
  11. cut out the Happy Birthday Shaker Window from the Silver Glitter square.
  12. Add adhesive to the back of the Birthday frame and adhere to the top of the window.
  13. Stamp the balloon in Candy Apple Ink then stamp off for the second generation and roll the bottom edge back into the Candy Apple ink before you stamp into the inside of the card so that you can see it through the window section.
  14. repeat this step two more times so that you will have 3 Balloons on the inside overlapping each other.
  15. Stamp the Celebrate onto the middle balloon and using the black marker write the word “Let’s” above it and to draw some strings from the Balloons
  16. Add some Clear Sparkle to finish


I hope that you like this card and give it a go.

So till next time keep on crafting.

Colleen V xxxx