Book Binder Christmas Card

Hi Crafty Friends : )

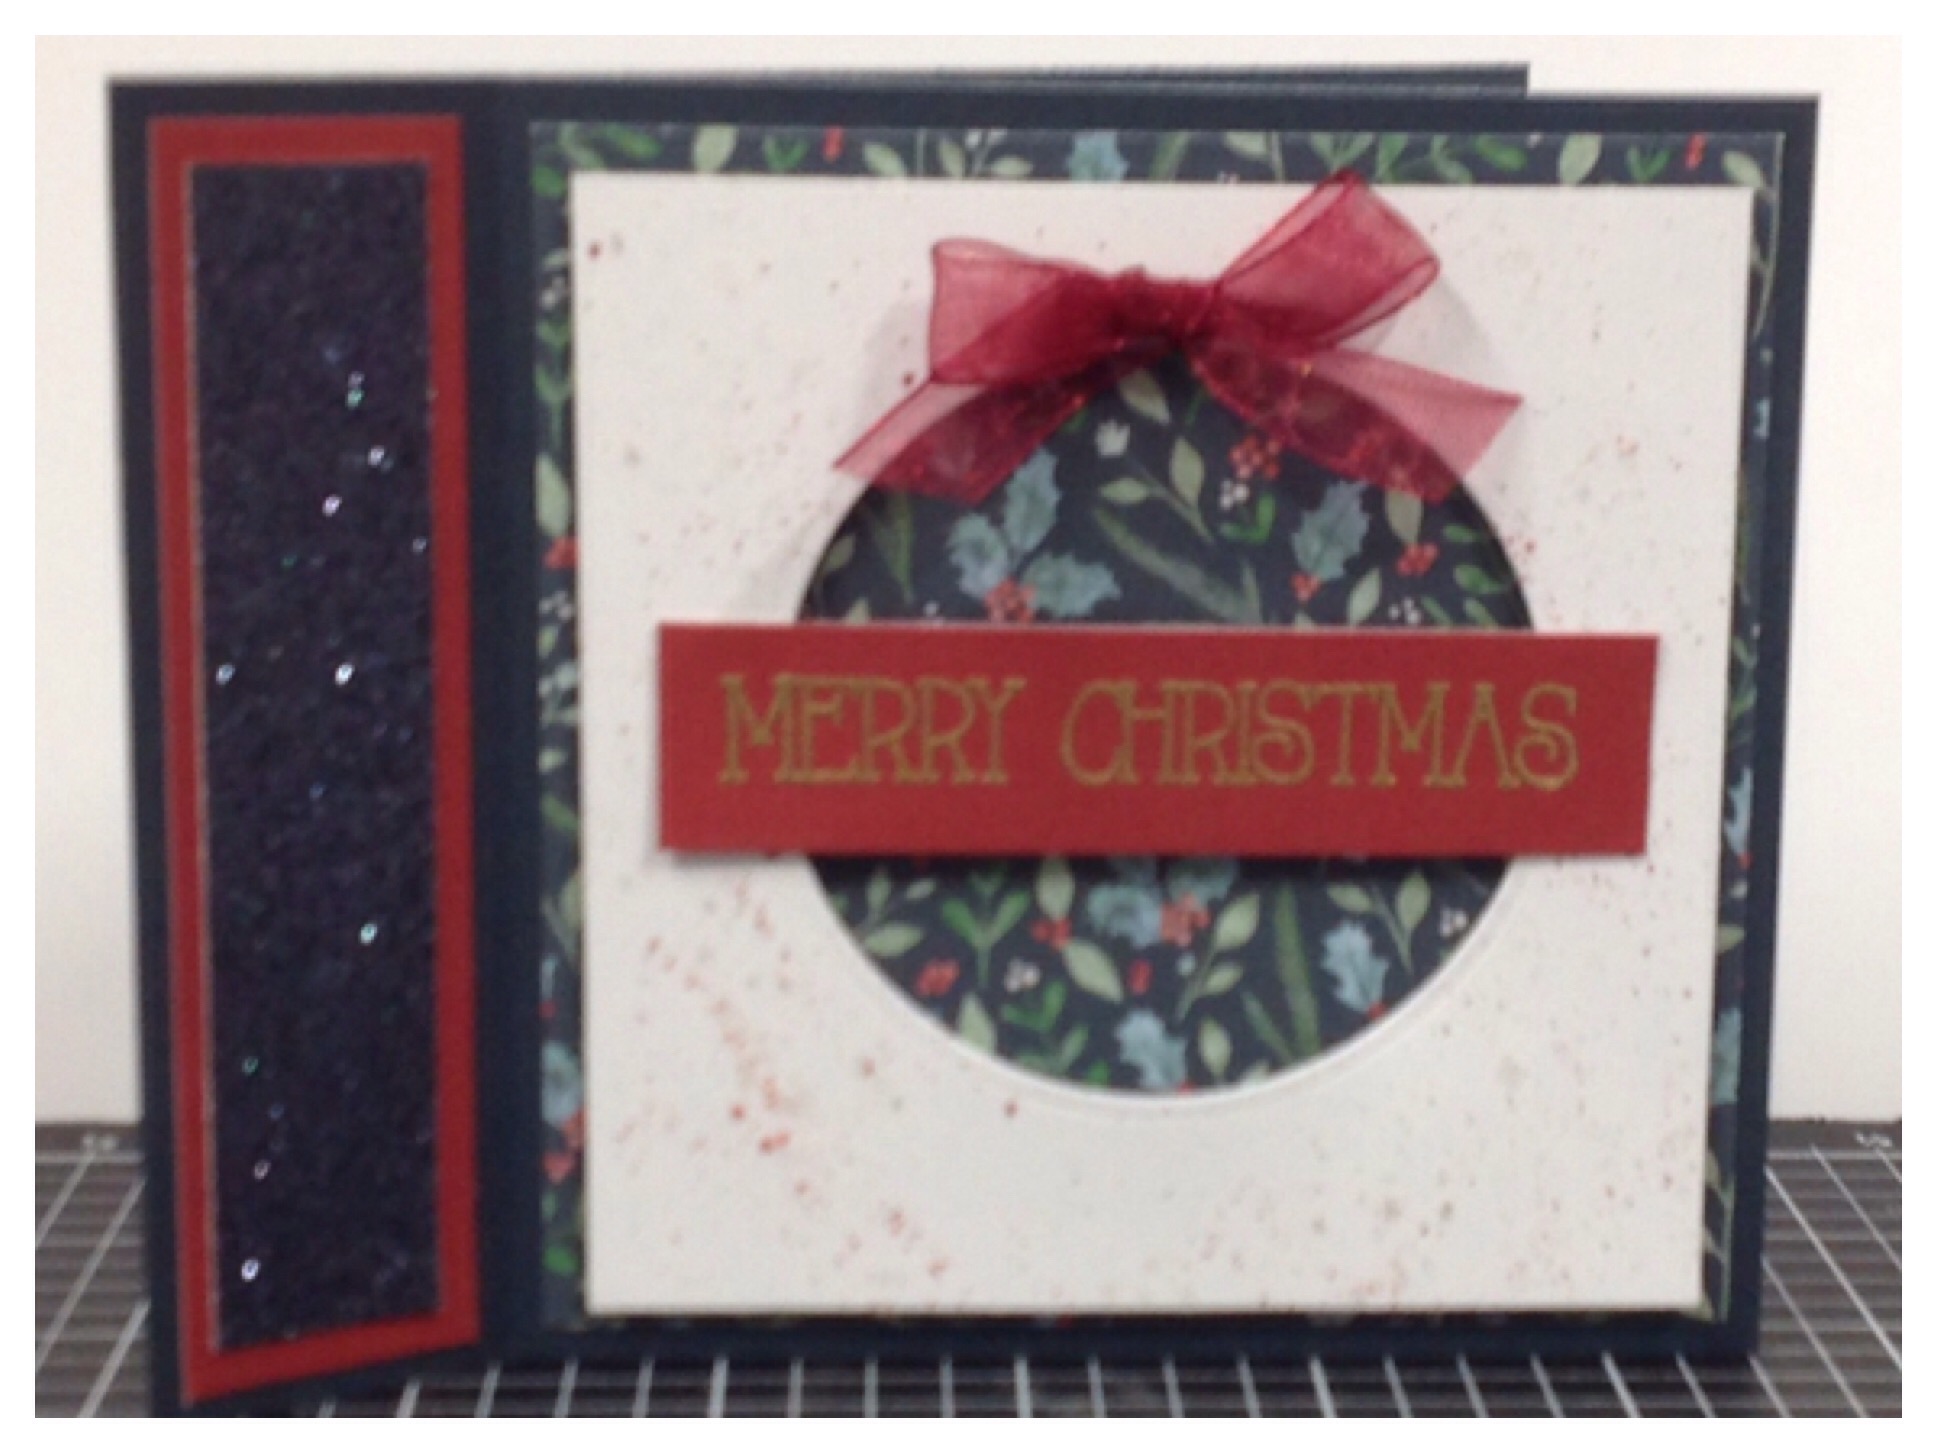
Well I thought that I had already shown you this card, but I have not. So here it is now made with the Holly & Ivy paper.

So here are the measurements and video:

Book Binding Card

Harbour Card stock: 11” x 4-1/4”

Harbour Strip: 3-1/4″ x 3/4″

Score on the 11” side @ 4-1/4” & 5-1/2”

Holly & Ivy Paper Panels: 4” x 4″

Holly & Ivy strip: 4″ x 1/4″

Scarlet Strip: 4″ x 1″

Harbour Glitter paper: 3-3/4″ x 3/4″

White Daisy squares:

  • 4” x 4”
  • 3-3/4” x 3-3/4”

2-1/2″ Circle Thin Cut Die

Stamp sets: For All Occasions-D2052 & Merry Christmas Flourish-M1298

Gold Shimmer Brush or Scarlet Shimmer Brush

Harbour Ink

Versa-Mark ink

Anti-static Powder pouch (to remove the static from the card stock)

Gold Embossing Powder

Heat Gun

1 small Bow for the top of the circle

  1. Fold and score all the score lines.
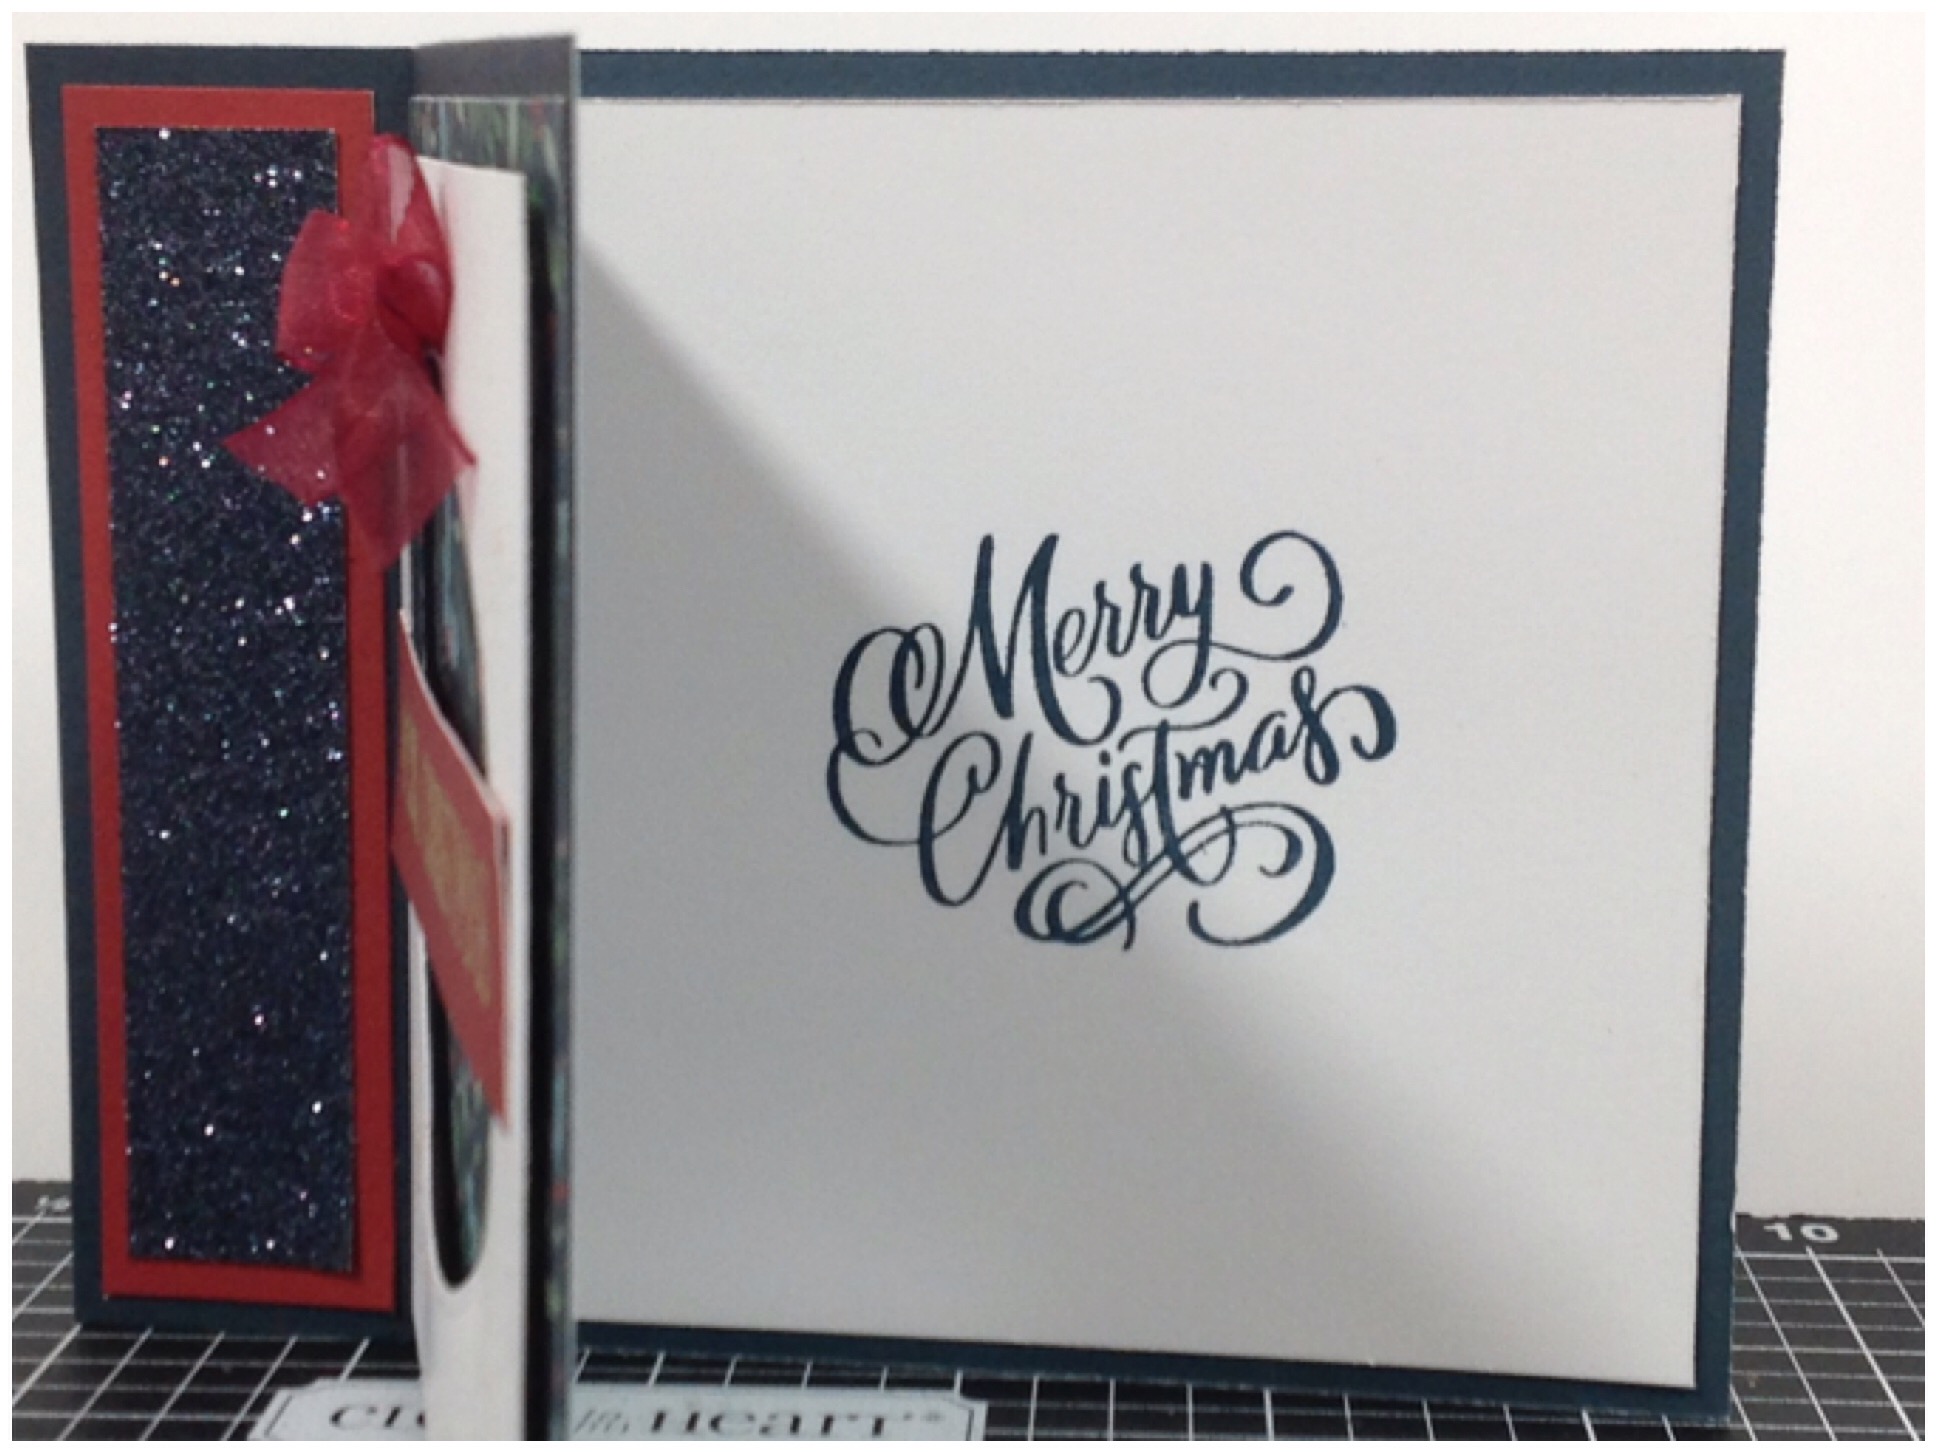
  2. Adhere the 1-1/4” inside section to the inside of the card along the fold lines.
  3. Adhere the Scarlet strip along with the Harbour Giltter paper strip to the side front section.
  4. Adhere the paper panel to the front of the card.
  5. Place the 2-1/2″ circle die in the middle of the 3-3/4″ x 3-3/4″ White Daisy square and cut the middle out.
  6. Place the white Daisy square with the middle cut out, onto a piece of copy paper and using the shimmer brush, splatter the White Daisy square.
  7. Adhere this 3-3/4” White Daisy square to front of the card with 3-D foam dots.
  8. Rub the Powder pad over the top of the Harbour strip to set it ready for the Versa-Mark Ink ( this removes all the static from the card stock along with the oil from your fingers).
  9. Stamp the greeting to the middle of the 3-1/4” square in the Versa- Mark Ink and sprinkle over the top with your Gold Embossing Powder (make sure that you have a piece of copy paper down to catch the excess powder). Tap of the excess (and place back in to its container) use a Heat Gun to set it from a powder to a solid.
  10. place 3-D foam dots to the middle back of this strip and place it in the middle of the circle cut out.
  11. stamp the Merry Christmas in Harbour ink and adhere the strip down the left hand side, and adhere to the inside of the card.
  12. Using Glue Dots, adhere the Bow to the top of the Circle cut out (so that it looks like a Christmas decoration.


The original idea for this card style comes from Pinterest.

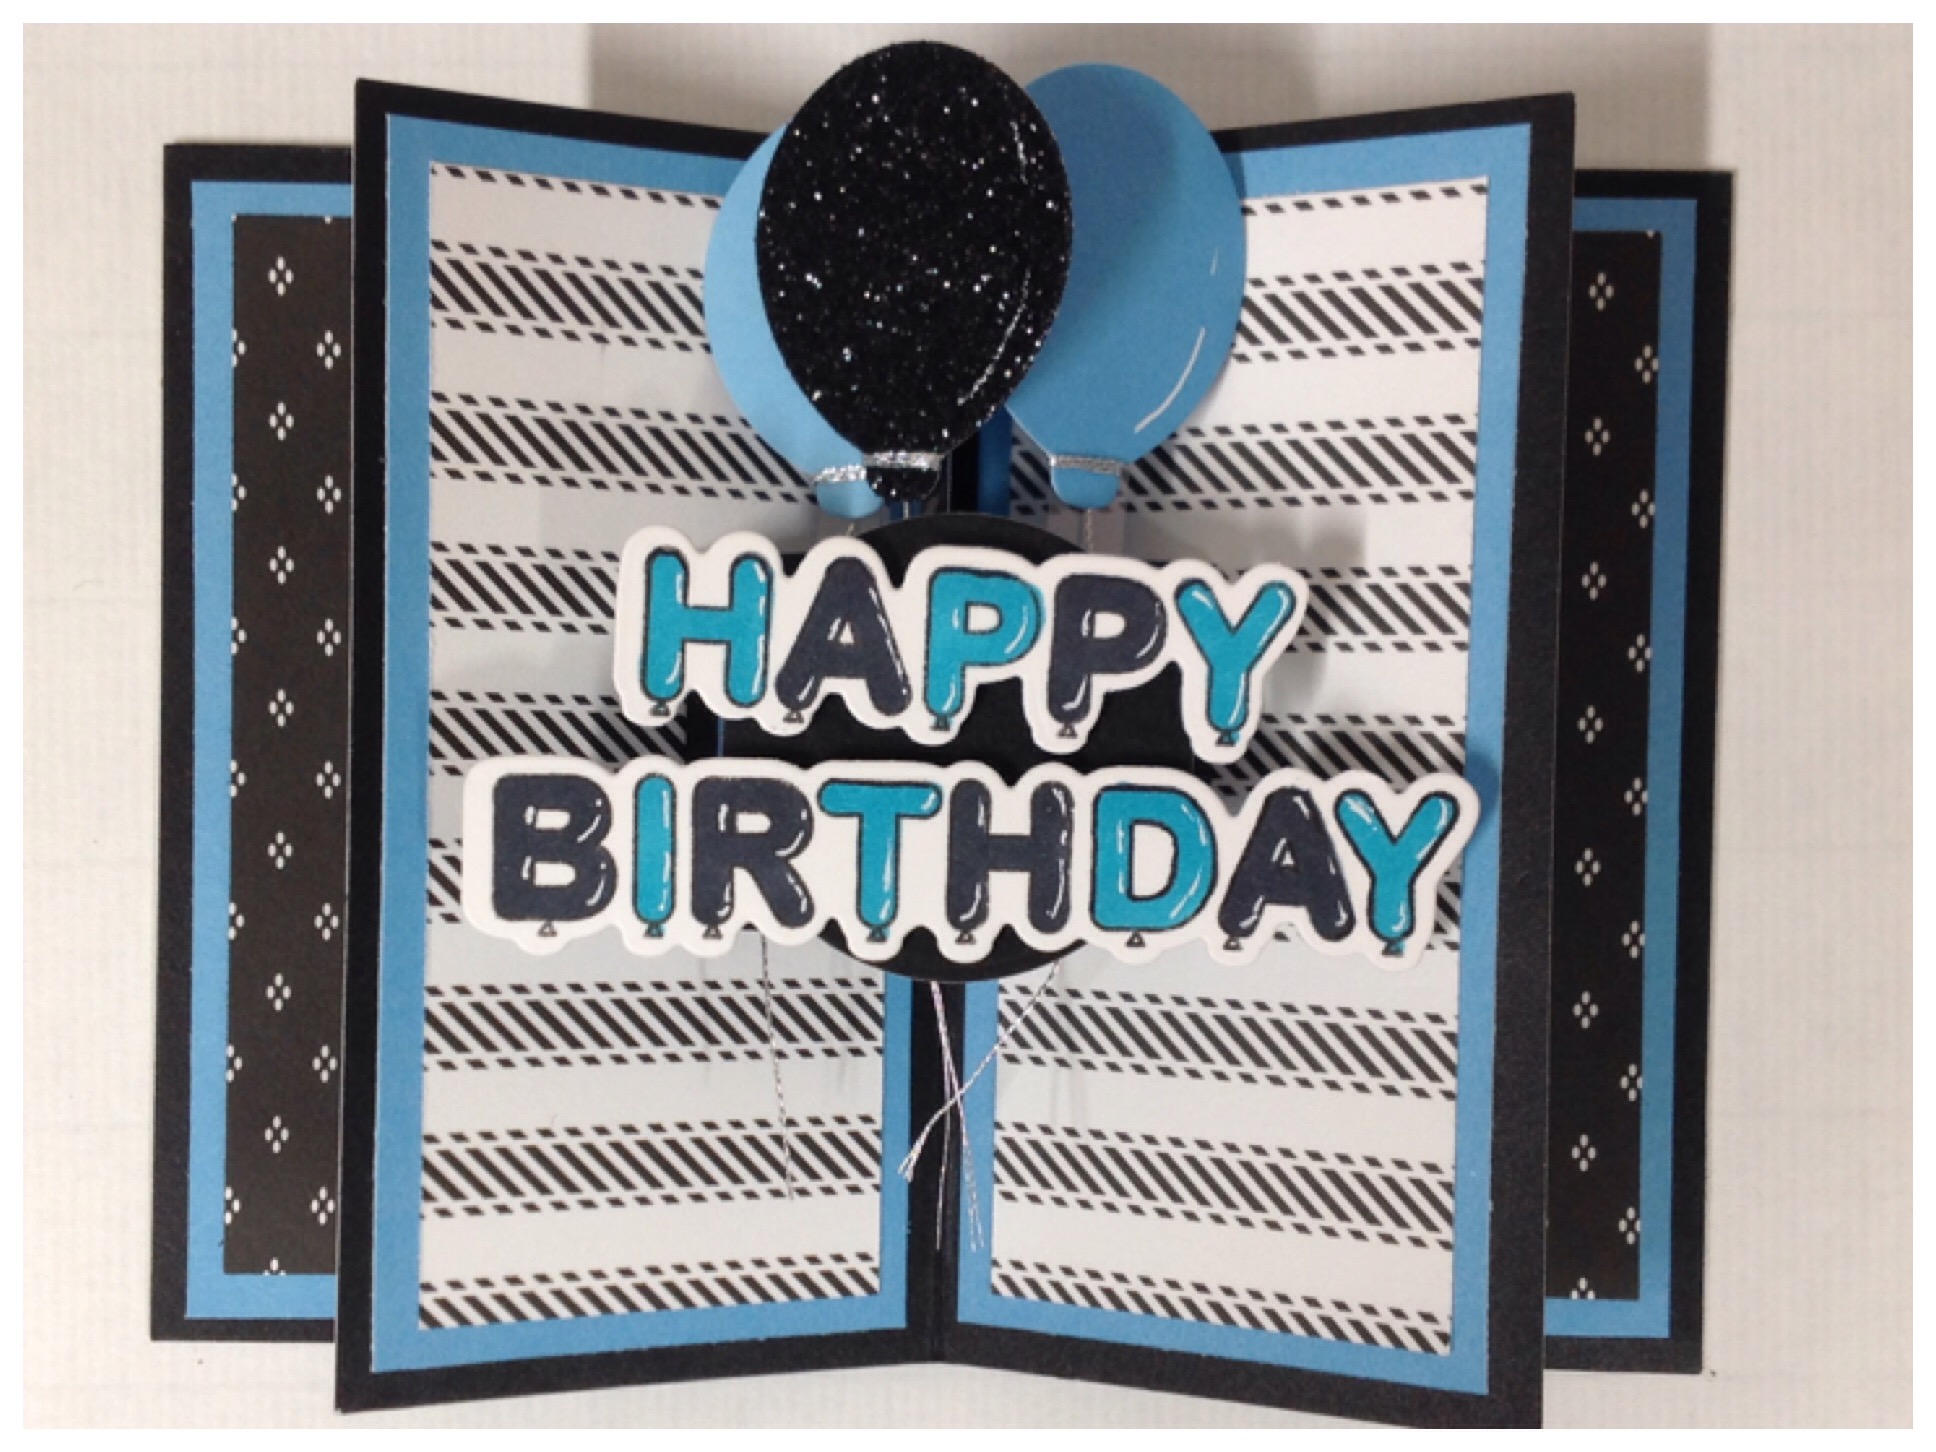
This Card is made with the Scarlet as the Card Base.

Well I hope that you like my version of the Book Binder card and give it a go.

So till next time…..

Happy Crafting and bye for now.
Colleen V XXXXX

A Box for your Slimline Cards & Envelopes

Hi Crafty Friends:)

Well here is a box for you to place your slimline cards in to if you would like to give them away as a gift to someone for Christmas.

This one I have made using the new Capri and Pewter card stock with Wild Berry & Lemonade flowers and avocado leaves.

Measurement for the box when put together is: 9″ x 4″ x 1″

So here are the measurements and video:

Card base: 12″ x 7″

(Trim of a 1/8″ from one of the 12″ sides and one of the 7″ end so that the base will fit the box lid).

Score on all 4 sides @ 1/2″ & 1-1/2″

Box Lid: 11-1/2″ x 6-1/2″

Score on all 4 sides @ 1/2″ & 1-1/4″

Panels for the inside of the box:

Lid: 9″ x 4″ ( trim of 1/8″ of one 9″ side and one 4″ side)

Base: 8-7/8″ x 3-7/8″

I hope that you like this box and give it a go.

So till next time……

Happy crafting and bye for now 🙂

Colleen V Xxxxx

Half Star Card using Festive Borders and Love Story paper

Hi Crafty Friends 🙂

Well I finally managed to get this video up and running for you to see how to make this Half Star Card.

The original card was made by Iced Images. Go to Pinterest and pop in Iced Image Cards and you will find it there.

I just think that this card has the total WOW factor.

So here are the measurements and Video:

Black Card base: 8-1/2″ x 5-1/2″

score on the 8-1/2″ side @ 4-1/4″

Small Black Card: 4-1/4″ x 4-1/4″

score on the 4-1/4″ side @ 2-1/8″

Black Strips: 4-1/2″ x 1-1/4″ cut 2

score both on the 4-1/2″ side @ 1″, 2″, 3″ & 4″

Black strip: 4″ x 1-1/4″

score on the 4″ side @ 1″, 2″ & 3

Capri matting panels: 5-1/4″ x 4″ cut 2

Capri matting panels: 4″ x 1-7/8″ cut 2

Small Capri panels: 1″ x 3/4″ cut 6

Love Story paper: 5″ x 3-3/4″

Love Story paper panels: 3-3/4″ x 1-5/8″ cut 2

Whit Daisy Back panel: 5″ x 3-3/4″

1″ Capri Circles cut 2

1-1/2″ Black Circle

Festive Borders- Z3996

Tri-blend markers

and three balloons from the Stars and Sparklers stamp & thin cut set

I hope that you like my version of this card and give it a go.

So till next time….

Happy crafting and bye for now 🙂

Colleen V xxxxx

Box with Lid for 5-1/2″ x 4-1/4″ Cards and Envelopes

Hi Crafty Friends 🙂

This afternoons tutorial is for Kerry Lyden :).

She asked if I had a tutorial for a Box that can fit 5-1/2″ x 4-1/4″ cards and Envelopes. So here it is.

Here are the measurements and video:

Box Base: 9″ x 7-1/2″

(trim off 1/16″ from the bottom and one side of this piece and it will give you a smooth fit for the lid)

then score on all 4 sides @ 1/2″ & 1-1/2″

Box Lid: 8-1/2″ x 7″

score on all 4 sides @ 1/2″ & 1-1/4″

if you wish to add paper to the top (as I only show you how to make the box) you will need:

Matting panel: 5-3/4″ x 4-1/4″

Paper panel: 5-1/2″ x 4″

I have used the Doodle Floral stamp and thin cut to finish off the box with some silver glitter gems in the middle of the flowers.

Well I hope that you like this box for the cards as it makes a great gift for someone at Christmas time full of cards to give to family and friends.

So till the next Tutorial….

Happy Crafting and bye for now.

Colleen V xxxxx